

I found the project relatively easy to do. Here is what you need for your ingredients:
Dark or milk chocolate
White chocolate
Red and yellow food coloring
Marshmallows
Milk
Chocolate chips or M&M's (optional)
Directions:
I use a double boiler to melt my chocolate. I started by heating up some water in my bottom pot to a boil. While I waited, I lined a dish with a cover with aluminum foil. I sprayed the aluminum foil with nonstick spray. (You could use wax paper but I did not have any in the house, so I made do. You also want to make sure that your dish has enough clearance for the marshmallow after putting the lid on.)
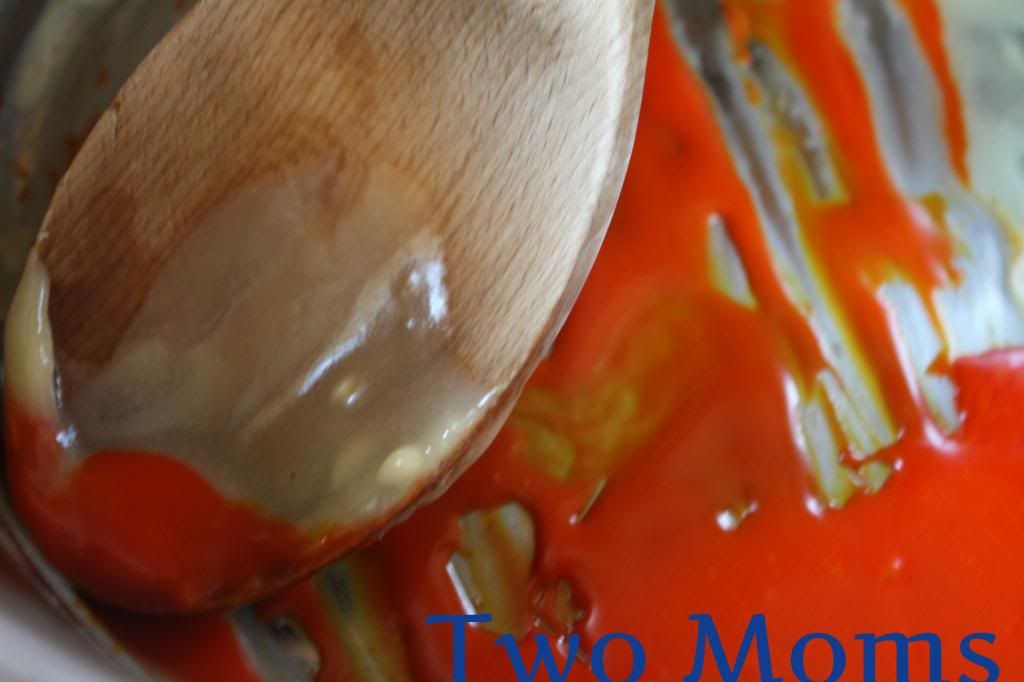
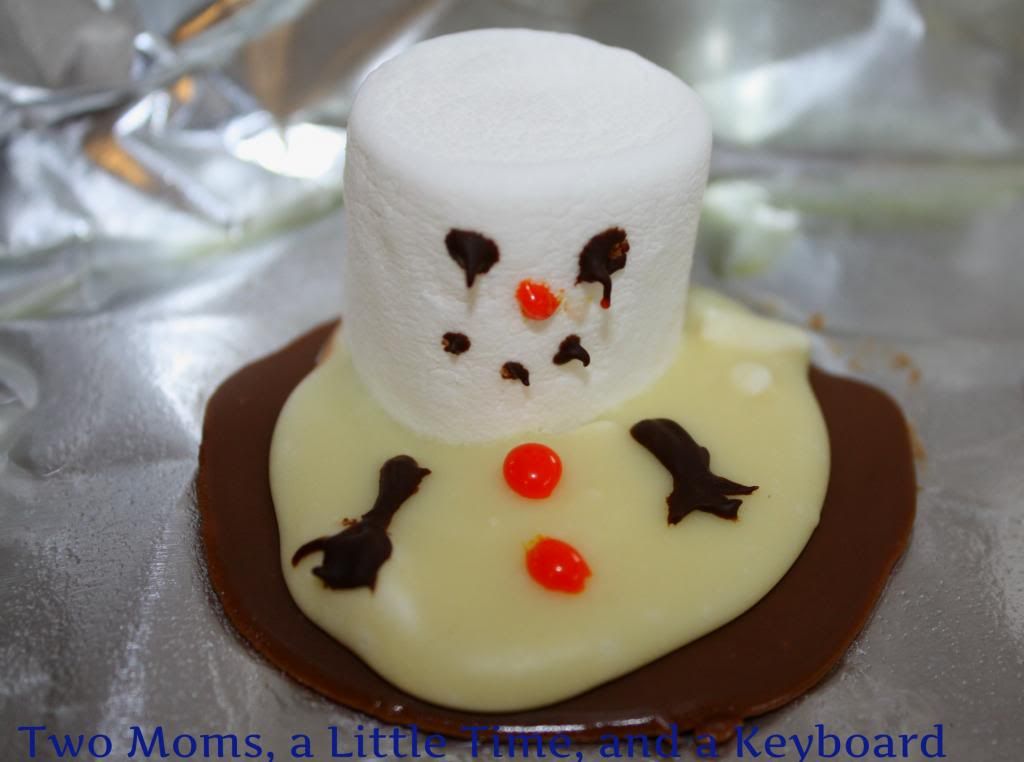
Once the water was boiling, I removed the pot from the heat. I put the top pot on and put my milk chocolate in. (You could also use dark.) I melted it while stirring gently. If the chocolate stopped melted, I would heat the double boiler to low. Once the chocolate was melted, I spooned some in spots on the foil. The beauty about these snowmen--the chocolate puddles can be uneven. I let it cool a little and the put it in the fridge to cool the rest of the way. Once the chocolate was cool, I brought it out of the fridge to warm to room temperature as I prepared the white chocolate.
I melted the white chocolate in the same method as the milk or dark chocolate. I did add a little milk to thin it out. Once it was melted, I made a "puddle" on top of my milk chocolate puddles. Then, I stuck the marshmallow into the white chocolate for the head. You can also add chocolate chips or M&M's for buttons. After I let it cool a little, I put the project back in the fridge.

'
There are a lot of steps to this, but it honestly is not hard. For this project, I did not follow my tempering instructions to a tee. However, I have found that it does make creating fudge and truffles a bit easier. You can check this About.com article for instructions.
This is super cute. I am absolutely in love with snowman. I have no idea why - I'm a Florida gal who has never seen snow! Thanks for sharing on Marvelous Mondays! :)
ReplyDeletegreat idea and big yum too! Thank you for sharing at the hop xo
ReplyDeleteThese are too cute! Such a clever and fun idea. I bet kids love them!
ReplyDeleteVisiting from Thursday Favorite Things :)
Tammy
ourneckofthewoods.net
So cute. We love marshmallows and my girls said they can do this one on their own. Stopping by from the hop.
ReplyDeletewww.cheermamadrama.blogspot.com
Hi Mel,
ReplyDeleteThis is adorable, but I would probably eat it before I got the whole thing put together :-) I’m co-hosting with Katherine this week at Thursday Favorite Things and hope you will stop by for a visit. Wishing you all the best in 2013.